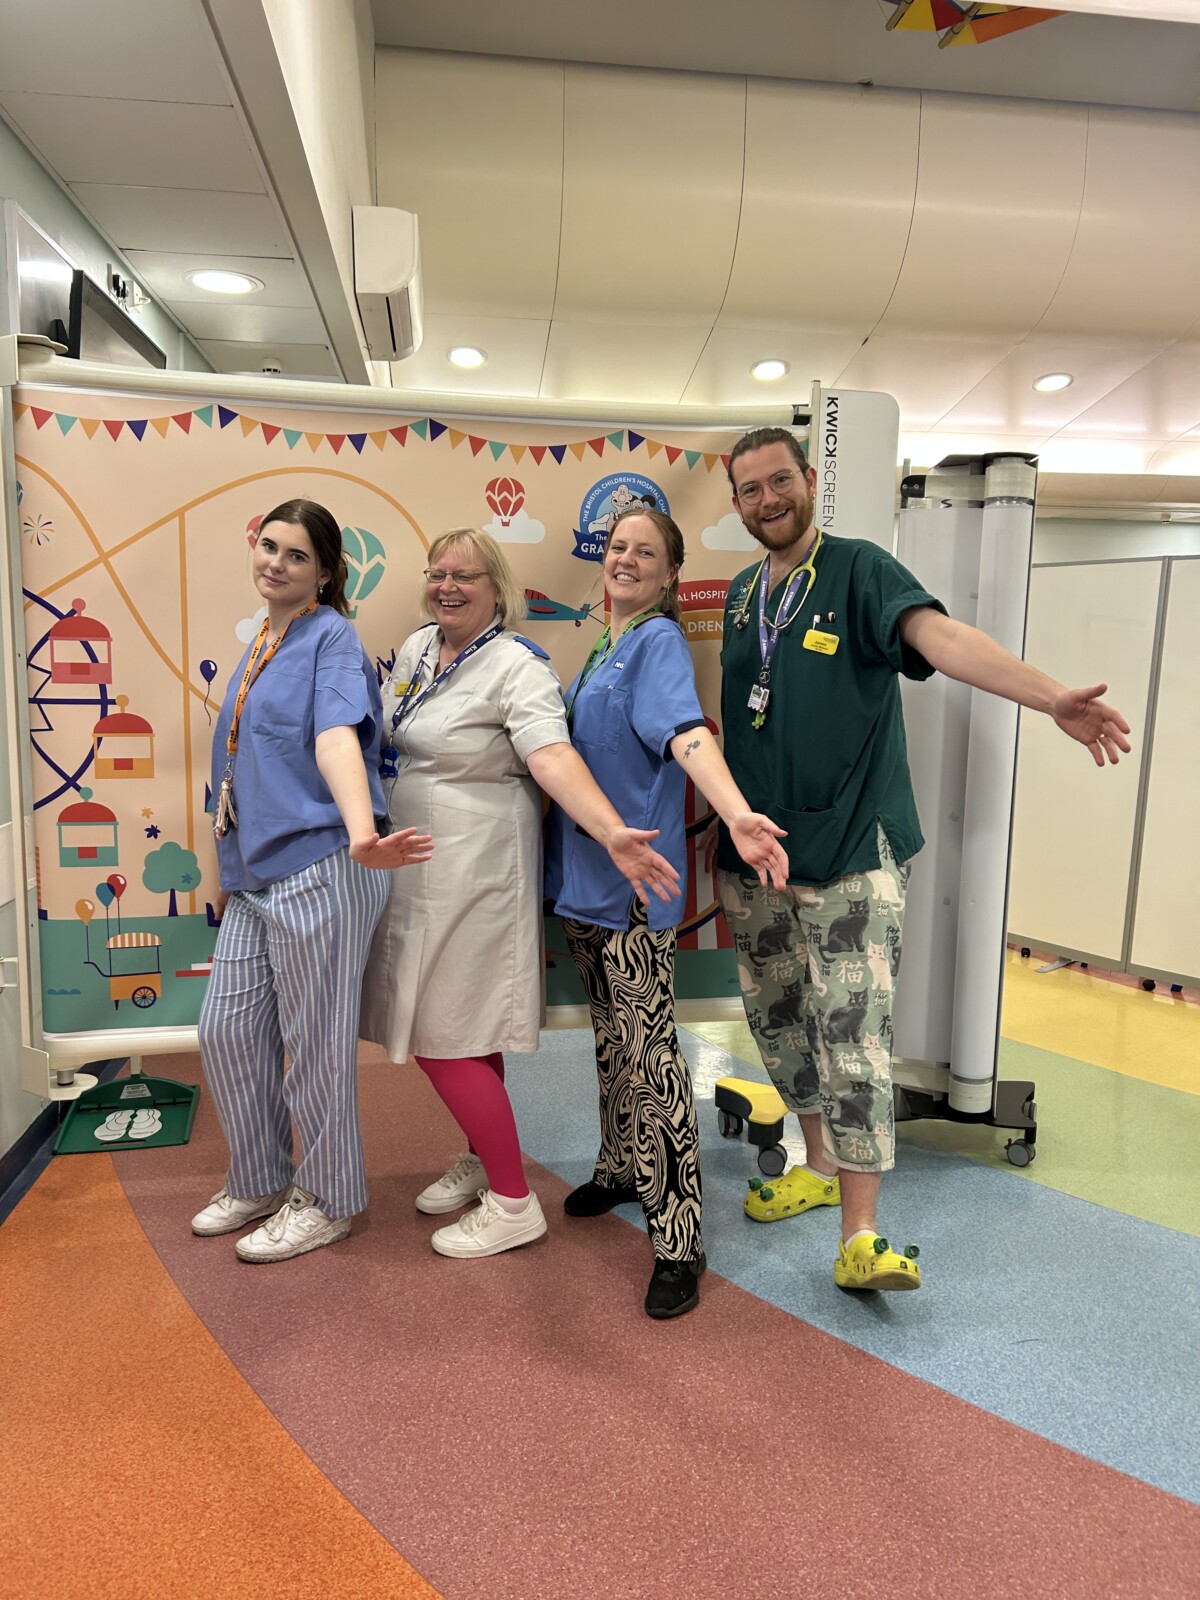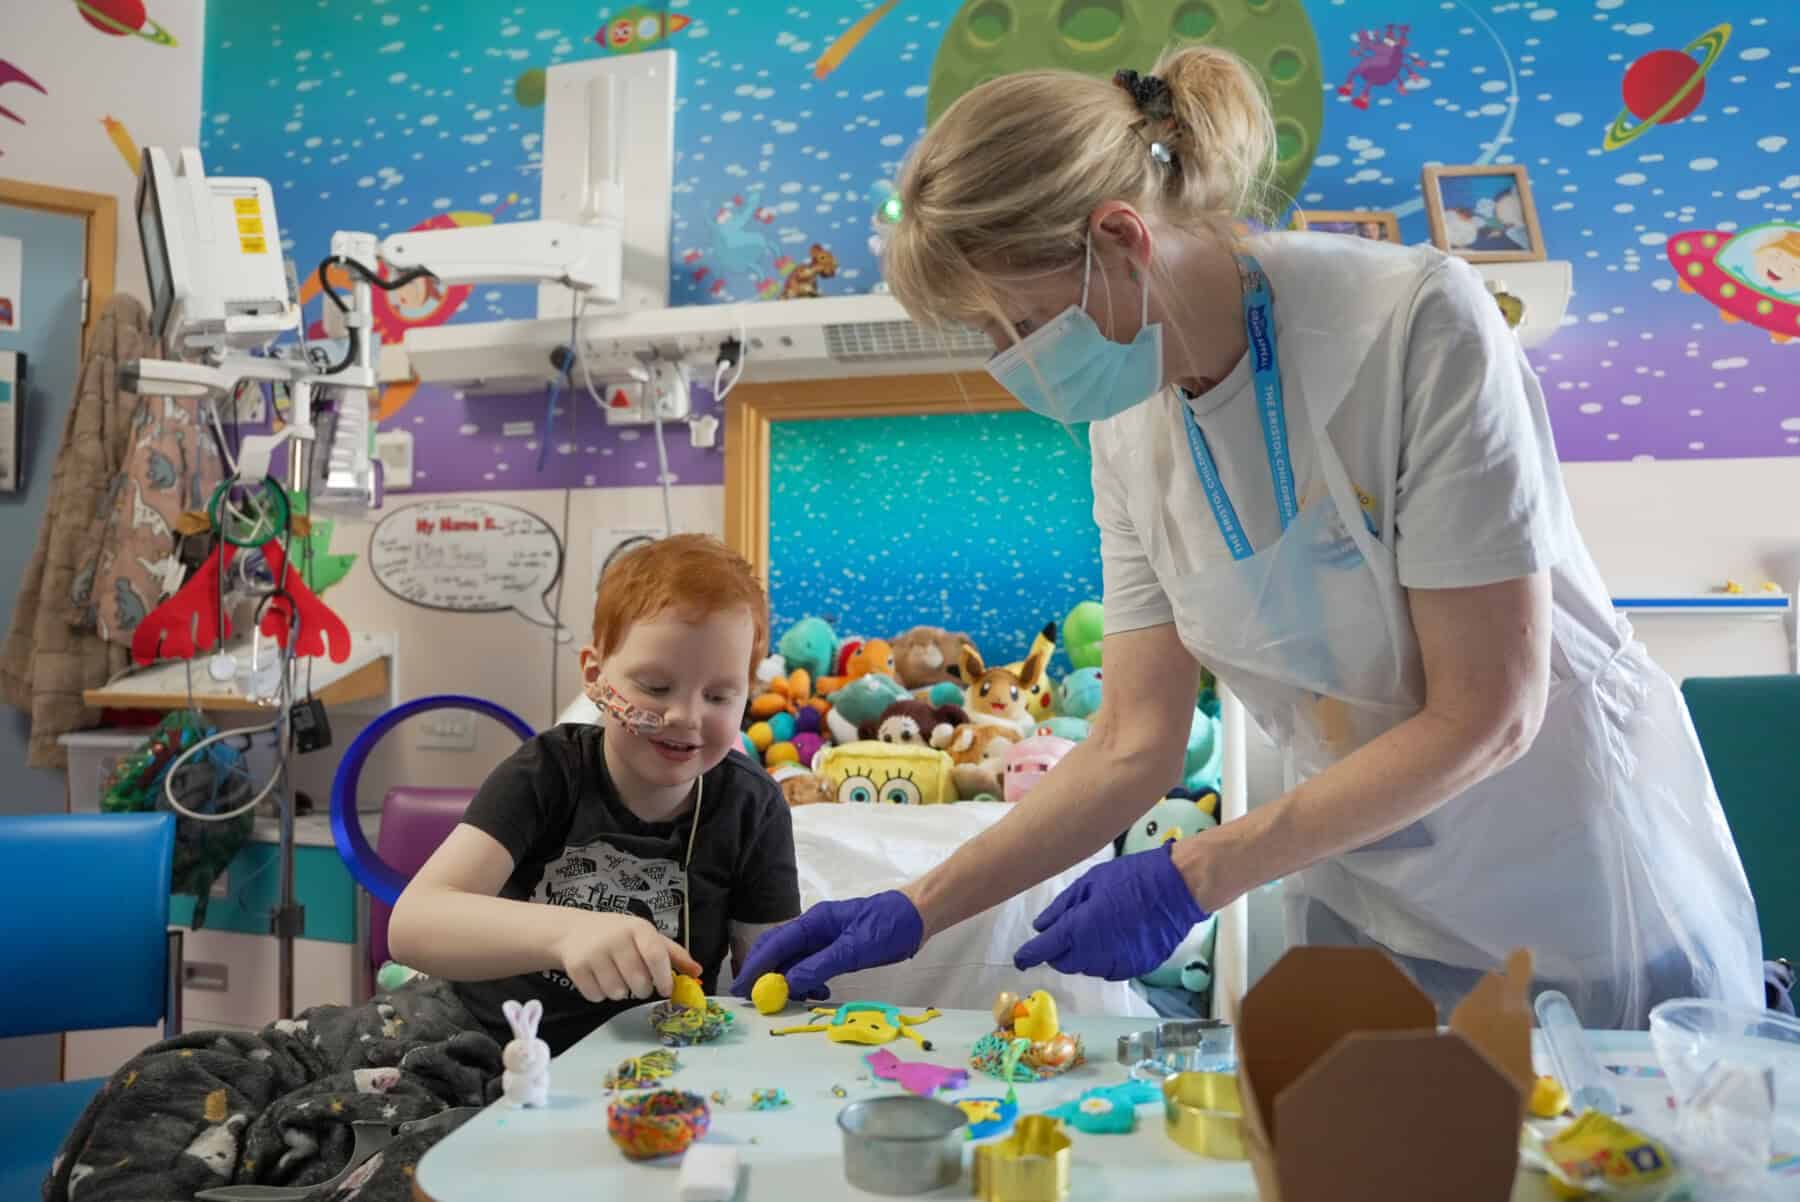
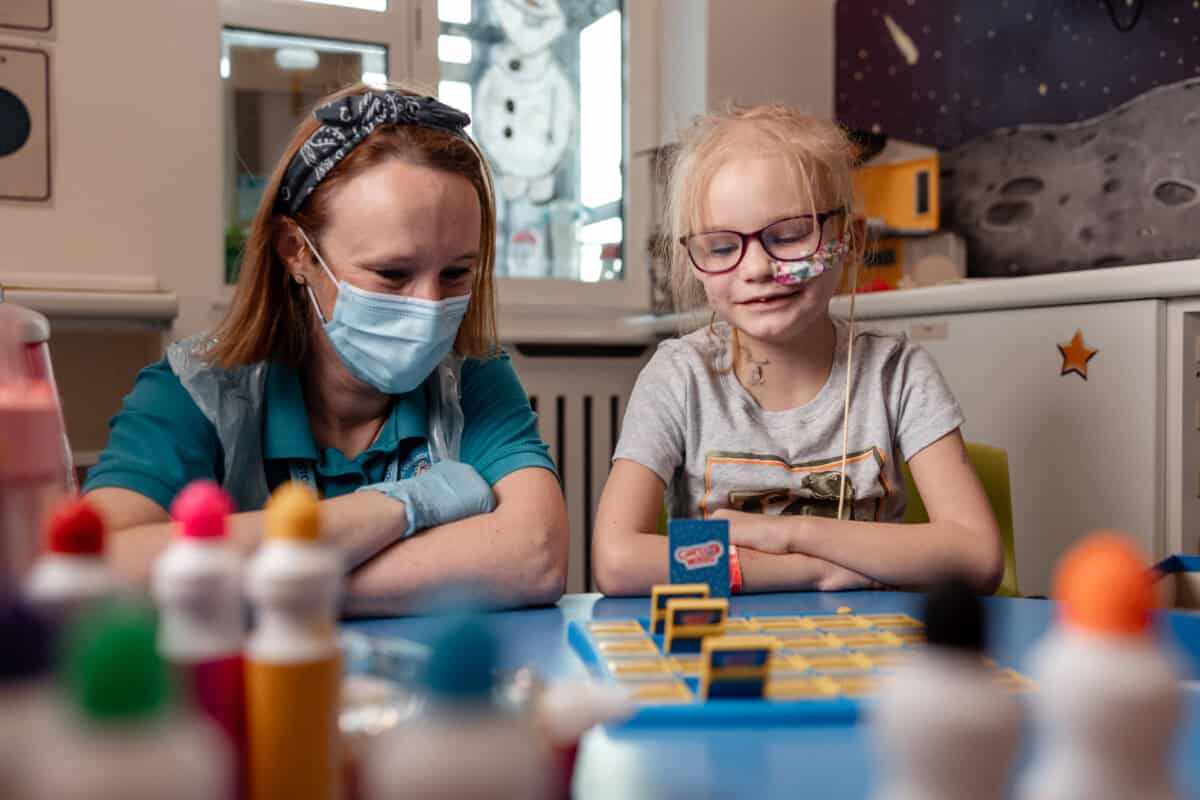
Supporting sick children comes in many forms, but a big part of what we do is ease the stress and fears that come with hospital life through our Arts Unleashed programme.
From painting workshops to interactive storytelling and immersive theatre sessions, Arts Unleashed invites a range of artists into Bristol Children’s Hospital to offer patients and their families exciting, mindful and boredom-busting workshops.
This Easter, we endeavoured to help bring Arts Unleashed home. Whether you’re a patient past or present, or simply someone raring to give arts and crafts a go, we’ve created a ‘craft your own’ series that you can get involved with from the comfort of your own home.
Pop Up Chicks
You will need:
- Coloured card
- Scissors
- Glue
- Cupcake cases
- A lolly stick
- A pencil
Method:
Step one: Create your egg template
Fold your card in half and draw half an oval. The folded half of the card will mark the middle of your egg. Carefully cut around your half oval and when you unfold your card, you should have a perfectly symmetrical egg!
Step two: Use your template to create two more eggs
Using your pencil, draw around your egg template and carefully cut out two more eggs using whatever colour card you like. One will be the shell; the other will form the background.
Step three: Crack the egg
Pick which egg you’d like to be your shell and draw a zigzagged line across it. This will make the egg look cracked when finished. Carefully cut along this line and make sure to keep hold of both bits of your egg when done.
Step four: Grab your cupcake cases
Fold your cupcake cases in half three times until it looks like a petal. Then, carefully cut around the edge of the stop to give it a rounded finish. When you open up your case, it should look like a flower! You can really get creative with these, using different sizes and colours to create unique blooms.
When you’re done cutting, stick your flowers together and attach them to your the bottom half of your cracked egg.
Step five: Get gluing!
It’s time to glue your shell to the background. Paste around the edges of your background, leaving a gap at the bottom where your lolly stick will go, then attach the layers together.
Step six: Draw your chick
Draw a circle. We reccomend using a roll of tape as a guide to get the shape spot on! Then carefully cut it out. Next, add a beak. You can either draw this on, or stick on a little triangular piece of card. Then, draw on the eyes!
Step seven: Add the lolly stick
Stick your chick to your lolly stick, then glue the top half of your cracked egg to the top of your chick’s head… like a hat! Finally, slide your chick into the bottom half of the egg and voila! You’ve got an Easter chick popping out from a beautiful egg.
Fluffy ChickS
You will need:
- Newspaper
- Tissue paper
- Masking tape
- Scissors
- Wool
- Glue
- Felt or Cardboard
Method:
Step one: Making the body
Scrunch your newspaper into an egg shape and use masking tape to keep it in place. Add a single sheet of newspaper to create a nice smooth finish.
Step two: Create the fluff
Pick your coloured wool and carefully snip it into lots of short pieces.
Step three: Wrap your chick in tissue paper
Grab your tissue paper and cover it in glue so that when you wrap the tissue paper around the body you made earlier, it sticks!
Step four: The messy part!
Cover your chick’s body in glue and then roll it in your wool snippings! Make sure to wash your hands and surfaces afterwards.
Step five: create the eyes and beak
Using card, paper or felt, draw some eyes for your chick and carefully cut them out. You can make these look however you like but remember they need to be quite big to stand out beneath the wool! Then, attach them to your chick’s body.
Step six: add the wings
Fold your card in half and draw the shape of a wing. Carefully cut around it and you should have two symmetrical wings! Next, glue these on to your chick’s body.
Step seven: Style your chick
If you’d like to give your chick a funky hairdo, tie a loop of wool, snip the ends and stick it on! And there you have it! Your very own fluffy chick.
Easter Cards
You will need:
- Glue
- A pencil
- A pen
- Carboard
- Coloured card
- Scissors
Method:
Step one: Make your template
Fold your card in half and draw and cut out half an oval this time. This will form the body of your spring animal. This time, we’re making a bunny, but feel free to play around with your own ideas!
Step two: Draw around your template
On your coloured paper, draw around your template and carefully cut out your second shape. This will make the bunny’s head.
Step three: Build your bunny
Stick the bunny’s head to your fresh peice of card and create it’s main features. Cut out ears, arms and even a little nose, and get them stuck on to bring your bunny to life. If you’d like to go for the 3D effect, only just the ends of the ears and arms.
Step four: Stick your design to the card
Fold an A4 piece of card (of any colour) in half and glue your rabbit design to the front. And there you have it! An Easter card to give to your nearest and dearest.
Easter basket
You will need:
- Paper cup
- String
- Coloured card
- Pen
- Pencil
- Scissors
- Tape
- Paint
- Glue
Method:
Step one: Add a design to your cup
Paint a design of your choice onto your paper cup. This could be anything, from polka dots and stripes, to stars or love hearts.
Step two: Create your bunny
On your coloured card, draw your bunny’s face, ears and nose. Carefully cut these out and stick the nose on the face.
Step three: Draw on your bunny’s face
Draw on the bunny’s eyes, whiskers and mouth. Next, stick the face to the cup itself, and glue the ears at the top of the inside of the cup.
Step four: Attach the handles
Cut three equal pieces of string and attach them equally around the cup. Use a pencil to mark where your string is going to make sure there’s equal space between the strings. Attach the string using tape.
Step five: Tie your string
Tie your pieces of string together and snip the ends of your knot to get it looking neat and tidy!
Step six: Add the tissue paper
Pop a bit of tissue paper in your cup and voila! You’ve got yourself an Easter basket.
We’d love to see what you create, so make sure to take lots of photos of your finished projects and tag us if you share them on social media. Happy crafting!
You may also be interested in…
-
-
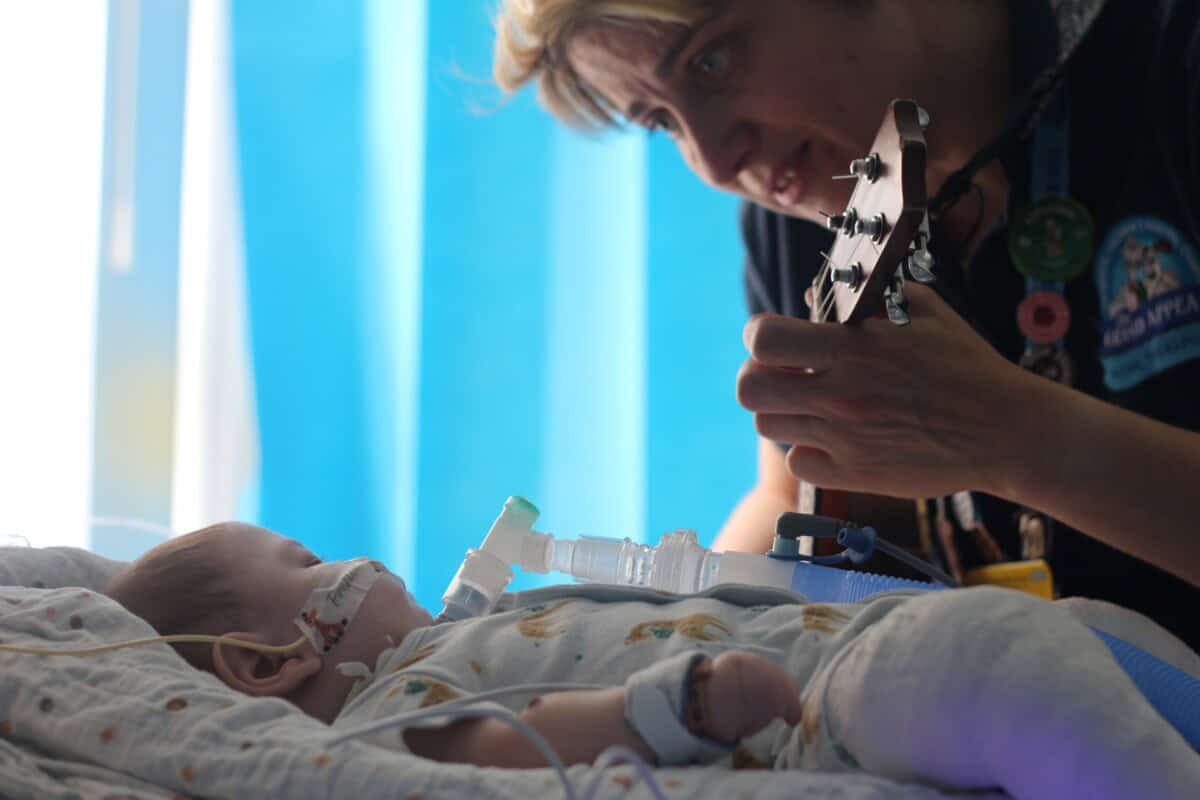
Music Therapy
Read all about our music therapy service.
-
The Grand Appeal
Play
Learn about our fantastic play service at Bristol Children’s Hospital.